


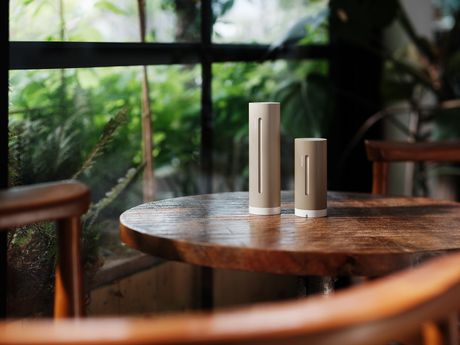
Netatmo unveils the new Weather Station ORIGINAL

Up to 50% off selected productsBuy
Installing your Smart Thermostat is really simple. If you’ve installed a light or a switch before, this will be child’s play! Quick and simple, it takes less than an hour to install it in your home.
Check compatibility

Fixed on the wall (wired option)

Placed on a shelf or cabinet (wireless option)

a personal Wi-Fi network
A heat pump - heating only
a personal Wi-Fi network
one of these energy sources: Gas, Oil, Wood, Heat pump
an individual heating system
an individual heating system with several thermostats
a personal Wi-Fi network
one of these energy sources: Gas, Oil, Wood, Heat pump
a personal Wi-Fi network
an individual thermostat at the entrance to the apartment
a personal Wi-Fi network
one of these energy sources: Gas, Oil, Wood, Heat pump
An individual boiler
You’re replacing a wired thermostat
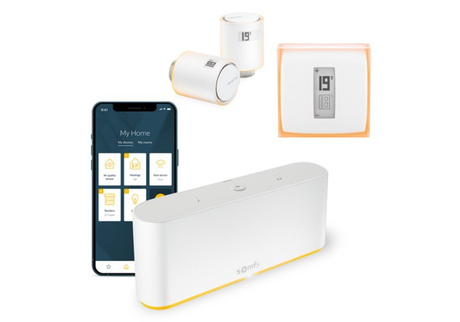
In this system, the Netatmo Thermostat is installed on the wall and controls your boiler through the existing electrical wires.The Thermostat communicates via radio with the Netatmo relay.This ensures Wi-Fi connection to the internet and remote control from the Netatmo app.
You’re replacing a wireless thermostat
In this system, the Netatmo relay is connected to your boiler and controls your heating.It communicates via radio with the Netatmo Thermostat that you use to set the temperature.The relay ensures the Wi-Fi connection to the internet and remote control from the Netatmo app.
You’re installing your first thermostat
In this system, the Netatmo relay is connected to your boiler and controls your heating.It communicates via radio with the Netatmo Thermostat that you use to set the temperature.The relay ensures the Wi-Fi connection to the internet and remote control from the Netatmo app.
Is my system compatible?
What’s the maximum distance between a Smart Thermostat and Relay?
How is the Smart Thermostat powered?
Can I manage a multi-zone installation?
Can you create more than one heating schedule/programme?
Which product should I choose: a Smart Thermostat or a Smart Thermostatic Starter Pack ?